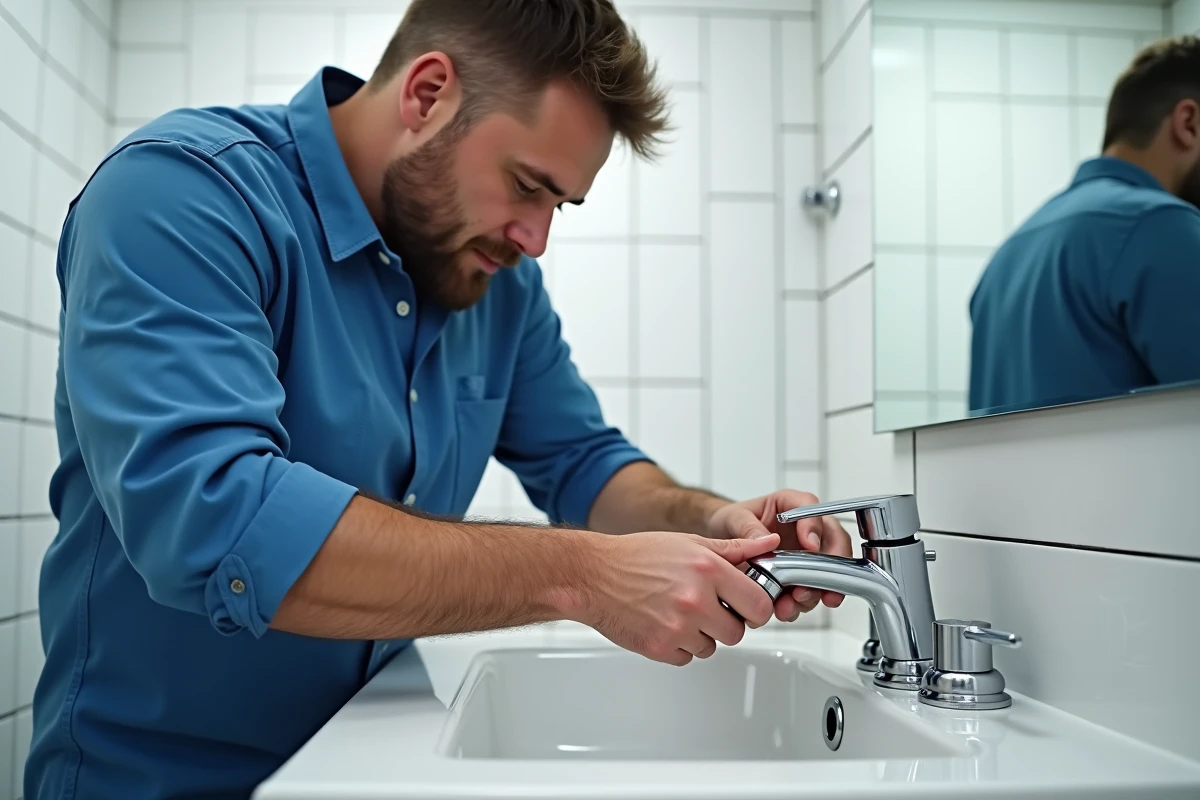
Most manufacturers integrate a safety system that prevents accidental disassembly of thermostatic mixer cartridges. However, limescale always manages to infiltrate, requiring intervention that few manuals detail. Even the most reputable models show notable discrepancies in the design of their cartridges, making each operation slightly different.
Some internal parts tolerate no approximation during reassembly, or else there will be immediate leakage. Tooling or handling errors are among the main causes of premature wear. To circumvent these difficulties, a few precise steps are enough to avoid the most common pitfalls.
When and why disassemble a thermostatic mixer cartridge?
In the world of sanitary installation, the thermostatic mixer has established itself as a key component of contemporary bathrooms. Precisely regulating water temperature, ensuring a constant flow, providing comfort and safety: these are its promises. But technical reality always catches up with daily use. One day, the water temperature starts to fluctuate, the handle becomes stiff, or a drip escapes under the mixer. These small signals often reveal that a thermostatic cartridge is beginning to weaken.
Disassembling a thermostatic mixer cartridge is not a whim, but a necessity to restore a reliable device and prolong its lifespan. Limescale, omnipresent in many French households, eventually accumulates and disrupts the system’s responsiveness: sudden temperature variations, a stubborn handle, or even total blockage. Maintaining the cartridge then becomes essential, whether to clean it or to proceed with its replacement after years of good and loyal service or during renovation work.
| Symptom | Possible Cause | Recommended Intervention |
|---|---|---|
| Unstable lukewarm water | Limescale buildup in cartridge | Disassemble and clean the cartridge |
| Leak under the handle | Worn seals | Replace the cartridge or seals |
| Handle difficult to turn | Internal blockage | Disassemble a thermostatic mixer cartridge |
Being attentive to the first signs of weakness allows you to act before the failure immobilizes the entire system. The cartridge plays a central role in the operation of the mixer: intervening at the first signs of trouble often prevents complete replacement or more serious damage.
What tools and precautions for safe disassembly?
Before you start the disassembly of a thermostatic mixer, you need to gather the right materials. This preparation makes all the difference: it avoids improvisation and increases efficiency. Prepare a flat wrench or a adjustable wrench to unscrew the cartridge retaining nut. Often, an Allen wrench is essential to reach the screws hidden in the handle. A pair of pliers can help with stubborn fittings, but it’s better to protect the chrome of the mixer body with a cloth to avoid scratches. A screwdriver completes the equipment for removing covers and access screws.
Some simple precautions should be taken: turn off the water supply at the stop valves in the bathroom or, if necessary, throughout the house. This reflex prevents any unexpected flooding. Don’t forget to relieve residual pressure by opening the faucet: this detail limits splashes, especially during disassembly.
Recommended tools list:
To successfully complete each step, here are the tools that really simplify the work:
- adjustable wrench or flat wrench
- Allen wrench
- pair of pliers
- screwdriver
- soft cloth to protect finishes
Remember to protect surfaces with a simple cloth between the pliers and the mixer body to preserve the appearance and durability of your installation. When reassembling, check the condition of the seals and wall fittings, as the slightest negligence on this point can compromise the final water tightness. This technical care ensures the reliability of the mixer and the longevity of the bathroom.
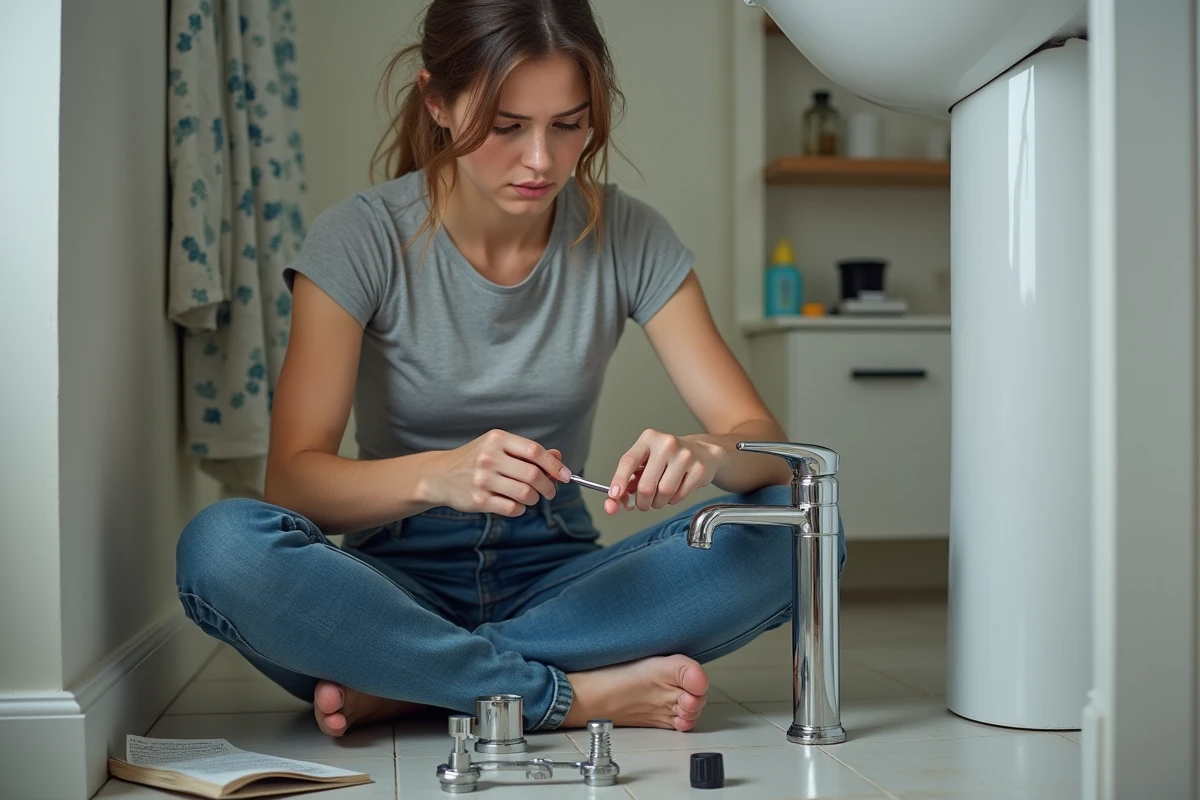
Detailed steps and tips for successful disassembly and maintenance of your mixer
Methodical removal of the cartridge
Start by removing the handle of the mixer: sometimes, a small cover that needs to be pried off with a fine screwdriver hides the fixing screw. Once this screw is removed, the handle comes off, giving you access to the thermostatic cartridge. The retaining nut, often discreet, can be loosened with an adjustable wrench. Pay close attention to the order of the pieces to facilitate reassembly. When the cartridge is free, handle it carefully: the internal ceramic is fragile and does not tolerate abrupt movements.
Cleaning and checking the parts
Take the time to inspect the seals. A deformed or cracked seal is enough to cause leaks and malfunctions. For maintenance, soak the cartridge and removable parts in a mixture of white vinegar and warm water: this bath dissolves limescale and allows everything to regain its efficiency.
Before reassembling, dry each component thoroughly. Use silicone grease on the seals to enhance water tightness and preserve the flexibility of the mechanisms. Follow the disassembly order to put everything back in place. Close the structure, then gradually turn on the water, closely monitoring any potential leaks at the fittings.
To ensure nothing is forgotten, here are the key steps to follow during the operation:
- Methodical removal of the handle
- Disassembly of the thermostatic cartridge
- Cleaning with white vinegar
- Checking and lubricating the seals
- Testing water tightness during reassembly
A well-maintained mixer promises long showers without unpleasant surprises, with a sure touch and regained comfort. Those who have taken the plunge into disassembly will no longer fear sudden breakdowns: limescale better watch out.